
Aug 21, 2026Product Knowledge
How to Replace Brake Rotors: A Step-by-Step Installation Guide
Complete step-by-step guide to replacing brake rotors. Learn the tools needed, installation process, bedding-in procedure, and common mistakes to avoid for safe, quiet braking.
When Should You Replace Brake Rotors?
Before you start wrenching, make sure the rotors actually need replacing. Not every rotor with wear marks requires replacement. Here are the main signs that it is time:
Rotor Thickness Below Minimum
Every brake rotor has a minimum thickness specification stamped on the rotor hat. Measure the rotor with a micrometer at multiple points. If any measurement falls below the minimum, replace the rotor. Driving on rotors below minimum thickness is unsafe and can cause brake failure.
Need help identifying when your rotors are worn out? Read our guide on 5 signs you need to replace your brake discs.
Deep Scoring or Grooves
Light surface scoring is normal. But if you can catch a fingernail in the grooves, or if the scoring is deeper than 1.5 mm, the rotor should be replaced. Deep grooves reduce the contact area between the pad and rotor, which means longer stopping distances and uneven pad wear.
Cracks or Heat Spots
Visible cracks — especially around the drilled holes or ventilation slots — are a serious safety concern. Heat spots appear as blue or dark discoloration on the rotor surface and indicate that the rotor has been overheated. Both conditions weaken the rotor and require immediate replacement.
Vibration When Braking
If you feel a pulsing or vibration through the brake pedal or steering wheel when braking, the rotors may be warped or have uneven thickness. This is often caused by excessive heat, improper lug nut torque, or aggressive braking.
Learn more about what causes rotor warping in our article on brake rotor warping: causes, prevention, and replacement.
Tools and Materials You Will Need
Gather everything before you start. Having the right tools makes the job faster and safer.
Essential Tools
- Floor jack and jack stands — Never work under a vehicle supported only by a jack
- Lug wrench or impact gun — For removing wheel lug nuts
- Socket set and ratchet — For caliper and bracket bolts
- Caliper hanger or bungee cord — To support the caliper without straining the brake hose
- Brake cleaner spray — For cleaning the new rotor and hub surface
- Wire brush — For cleaning rust from the hub face
- Torque wrench — For tightening bolts to specification
- C-clamp or brake piston tool — For pushing the caliper piston back
Recommended Materials
- New brake rotors — Match the correct size and type for your vehicle
- New brake pads — Always install new pads with new rotors
- Brake grease — For caliper slide pins and pad backing plates
- Anti-seize compound — For the hub face (use sparingly, keep off friction surfaces)
- Thread locker — For caliper bracket bolts if specified by the manufacturer
Step-by-Step Brake Rotor Replacement
Step 1: Prepare the Vehicle
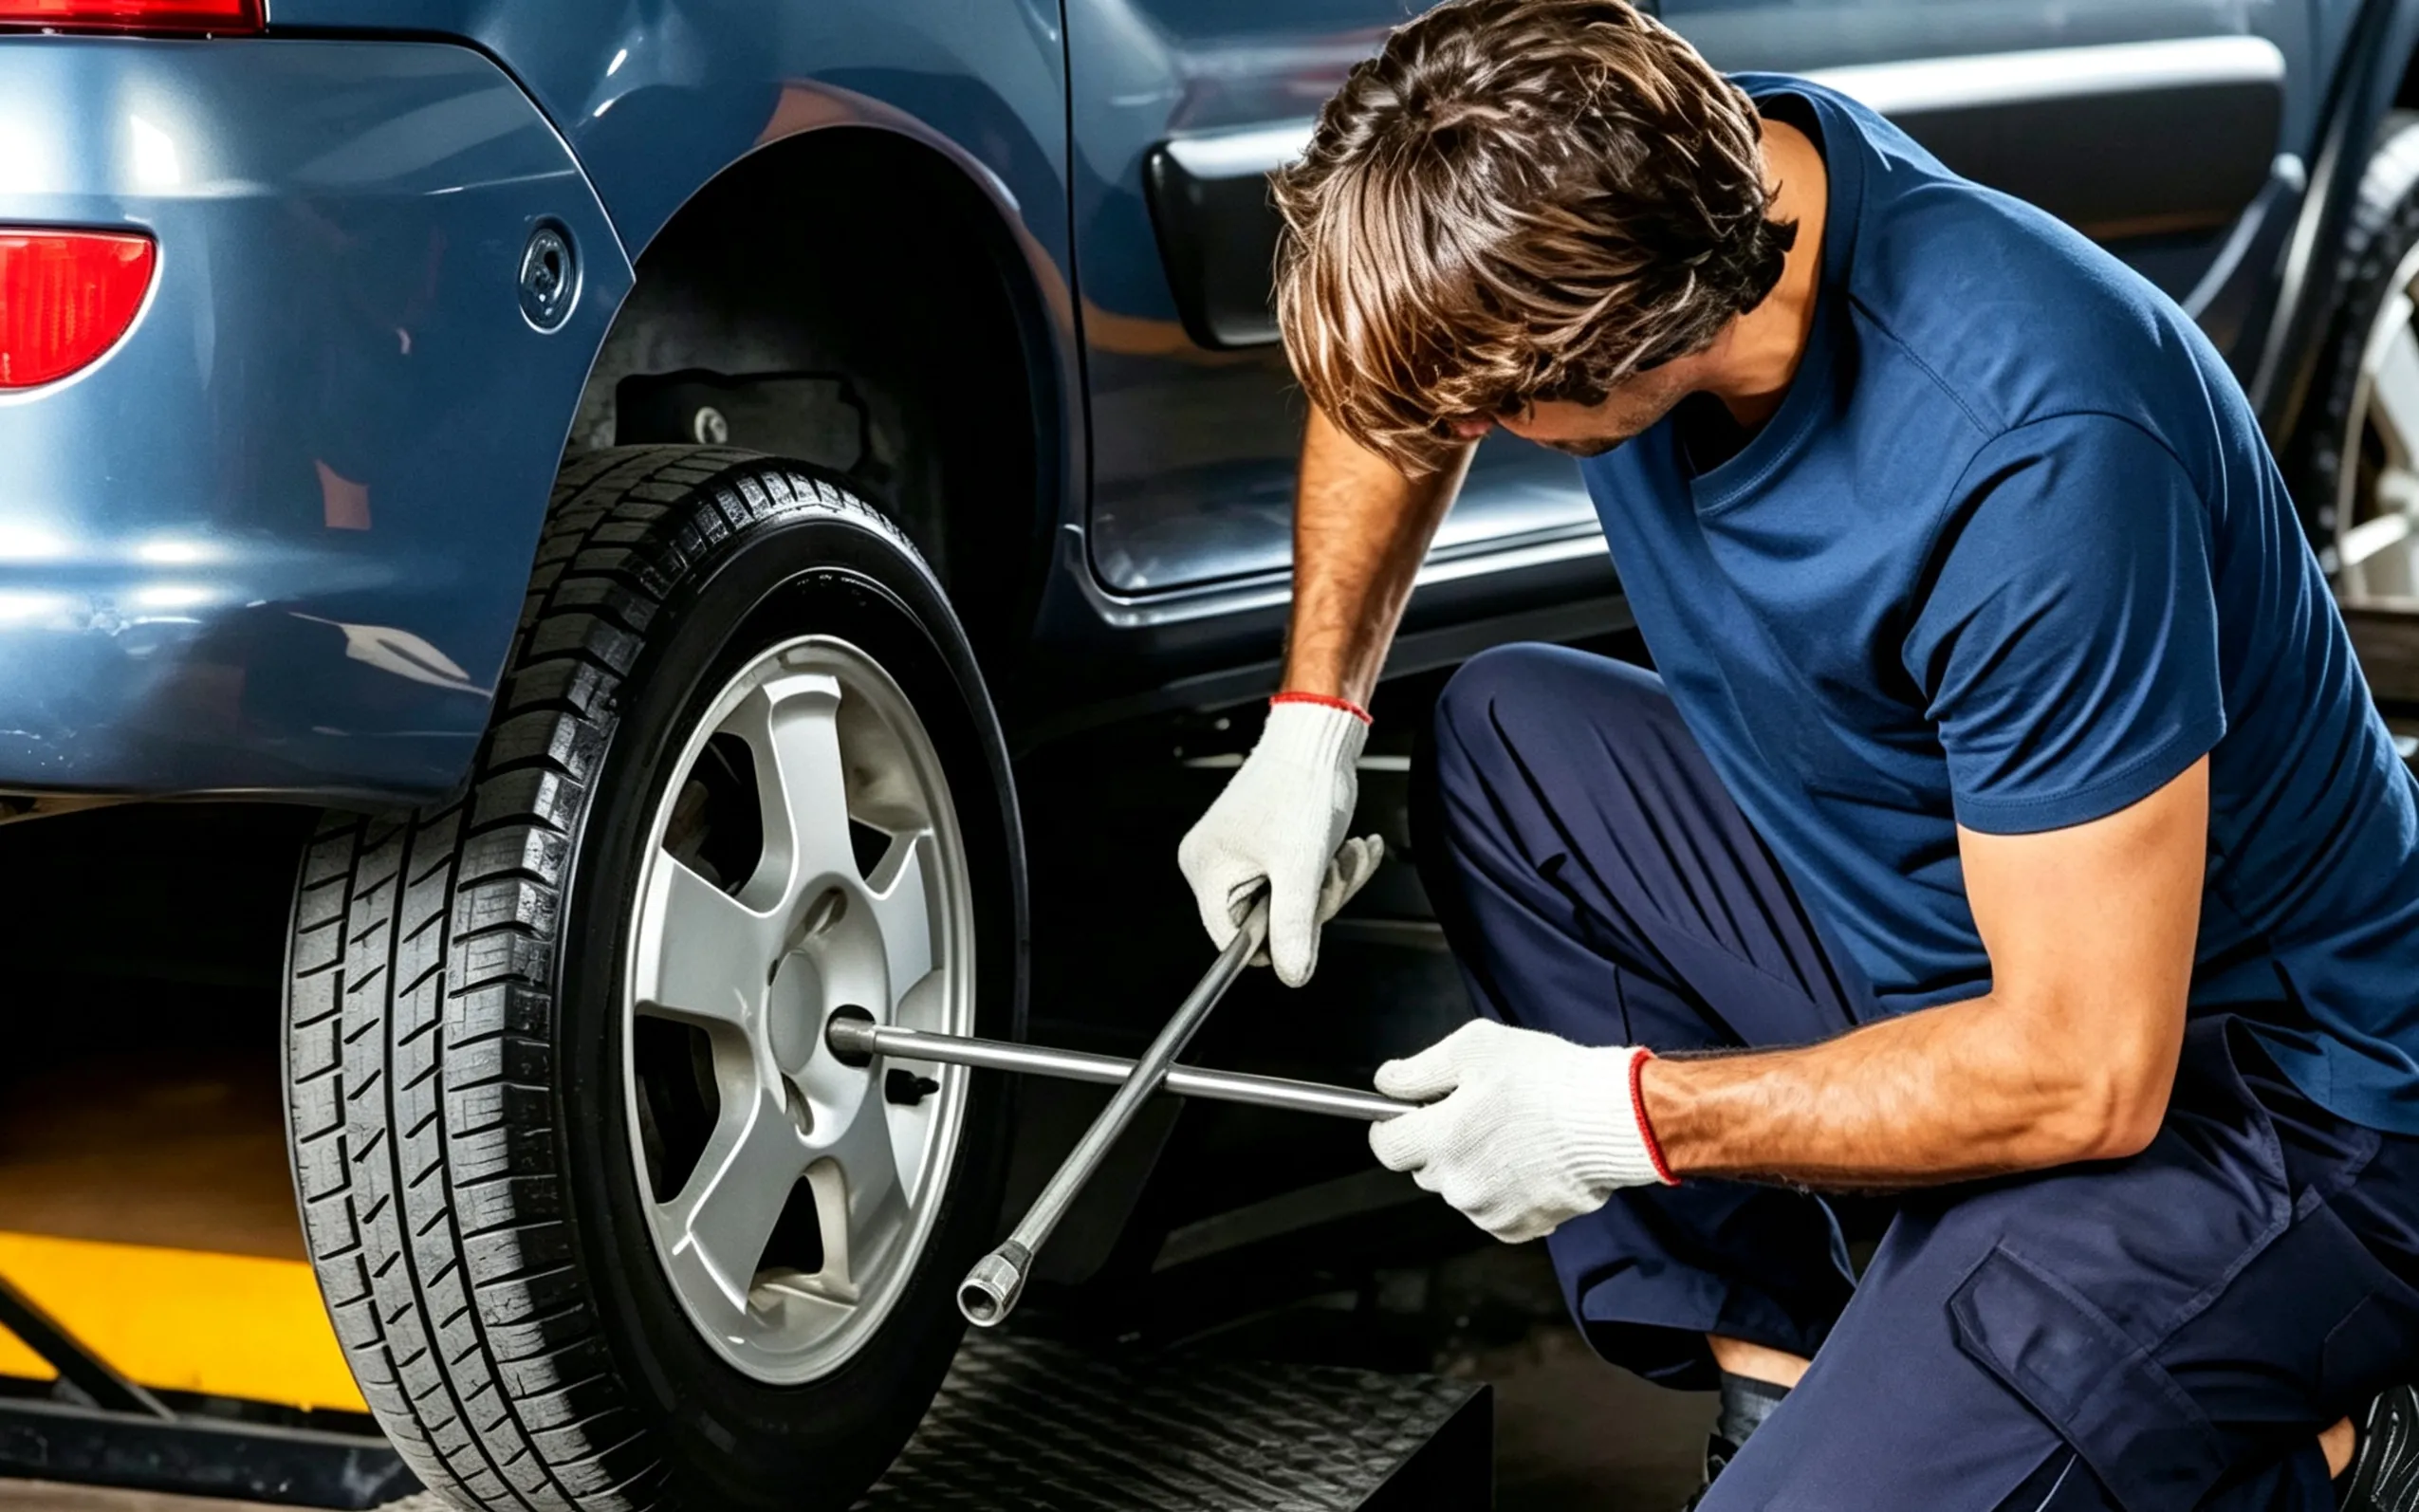
Park the vehicle on a flat, level surface. Engage the parking brake and place wheel chocks behind the wheels that will stay on the ground. Loosen the lug nuts on the wheel you are working on — but do not remove them yet. Loosening them while the wheel is on the ground prevents it from spinning.
Lift the vehicle with a floor jack at the correct jack point. Place a jack stand under a solid frame point and lower the vehicle onto the stand. Remove the lug nuts and take off the wheel.
Step 2: Remove the Caliper
Locate the two caliper slide pin bolts on the back of the caliper. These are usually 12mm, 14mm, or 15mm hex bolts. Remove both bolts and lift the caliper off the rotor.
Important: Never let the caliper hang by the brake hose. This can damage the hose and cause a brake fluid leak. Use a caliper hanger or a bungee cord to suspend the caliper from the suspension spring or strut.
Step 3: Remove the Caliper Bracket
The caliper bracket is mounted to the steering knuckle or axle with two larger bolts. Remove these bolts and set the bracket aside. These bolts are often tight — you may need a breaker bar or impact gun.
Step 4: Remove the Old Rotor
The rotor sits on the hub and is held in place by the wheel studs and sometimes a small retaining screw. If there is a retaining screw, remove it with a Phillips or Torx driver.
If the rotor is stuck to the hub (common in rust-prone regions), tap it gently from behind with a rubber mallet. Do not hit the rotor face with a metal hammer — this can damage the friction surface. You can also thread a bolt into the threaded holes on the rotor hat to push it off the hub.
Step 5: Clean the Hub Surface
This step is often skipped but it is critical. Rust and corrosion on the hub face cause the new rotor to sit unevenly, which leads to runout (wobble) and vibration.
Use a wire brush or sandpaper to clean the hub face until it is smooth and flat. Wipe away all debris with brake cleaner. Apply a very thin layer of anti-seize compound to the hub face — this prevents the rotor from seizing to the hub in the future. Keep anti-seize away from the wheel studs and the rotor friction surface.
Step 6: Install the New Rotor
Before installing the new rotor, remove the protective coating from the friction surfaces. Most new rotors have an oil-based coating to prevent rust during shipping. Spray both sides with brake cleaner and wipe them clean with a lint-free cloth.
Slide the new rotor onto the hub. If there was a retaining screw, install it now. The rotor should sit flat against the hub with no wobble.
Step 7: Reinstall the Caliper Bracket
Place the caliper bracket back into position and thread the mounting bolts by hand first. Then torque them to the manufacturer's specification — typically 75 to 110 Nm (55 to 80 ft-lbs), depending on the vehicle. If the factory calls for thread locker, apply it to the bolts before installation.
Step 8: Install New Brake Pads
Always install new brake pads when replacing rotors. Putting old pads on new rotors causes uneven transfer layer formation, which leads to noise and vibration.
Apply a thin layer of brake grease to the pad backing plates and the areas where the pads contact the caliper bracket. Do not get grease on the friction material or the rotor surface.
Slide the new pads into the caliper bracket. Make sure they move freely and are not binding.
Step 9: Reinstall the Caliper
Push the caliper piston back into the bore using a C-clamp or brake piston tool. This creates space for the new, thicker pads and rotor. If the brake fluid reservoir is full, you may need to remove some fluid first to prevent overflow.
Place the caliper over the new pads and rotor. Install the slide pin bolts and torque them to specification — typically 25 to 35 Nm (18 to 26 ft-lbs).
Step 10: Reinstall the Wheel
Put the wheel back on the hub and hand-tighten the lug nuts. Lower the vehicle off the jack stand and onto the ground. Torque the lug nuts in a star pattern to the manufacturer's specification — typically 80 to 120 Nm (60 to 90 ft-lbs), depending on the vehicle.
Correct torque is critical for rotor longevity. Over-tightening lug nuts is one of the most common causes of rotor warping.
Step 11: Bed In the New Rotors
Bedding in — also called break-in — is the process of transferring an even layer of friction material from the brake pads onto the rotor surface. This step is essential for quiet, consistent braking.
Standard bedding procedure:
- Drive at 50 km/h (30 mph) and make a moderate stop — about 50% brake pressure
- Repeat 6 to 10 times
- Allow 30 seconds between stops for the brakes to cool
- Avoid hard stops or holding the brake pedal down for the first 200 km (120 miles)
Skipping the bedding-in process is one of the most common causes of brake noise, vibration, and uneven pad deposits.
Common Mistakes to Avoid
Not Cleaning the Hub Surface
Rust on the hub causes the rotor to sit at a slight angle. This creates runout, which causes vibration and uneven pad wear. Always clean the hub before installing a new rotor.
Reusing Old Brake Pads
Old pads have a wear pattern that matches the old rotor. Putting them on a new rotor means the contact surfaces do not match, which causes noise and poor braking performance.
Over-Tightening Lug Nuts
Excessive lug nut torque distorts the rotor hat, which causes the rotor to warp over time. Always use a torque wrench and follow the manufacturer's specification.
Forgetting to Bed In New Rotors
Without bedding in, the pads deposit friction material unevenly on the rotor. This causes judder, noise, and reduced stopping power. Take the time to do it right.
Getting Grease on the Friction Surface
Brake grease on the rotor or pad friction material drastically reduces braking effectiveness. Apply grease only to the backing plates and contact points, and wipe away any excess.
Brake Rotor Types: Which One to Choose
When sourcing replacement rotors, you will encounter several types. Understanding the differences helps you choose the right one for your vehicle and driving conditions.
Solid Rotors
Solid rotors are a single piece of cast iron with no internal ventilation. They are lighter and cheaper but dissipate heat poorly. Solid rotors are commonly used on rear axles and lighter vehicles.
Vented Rotors
Vented rotors have internal vanes between the friction surfaces that allow air to flow through the rotor. This design dissipates heat much more effectively than solid rotors. Vented rotors are standard on front axles for most passenger vehicles.
Drilled Rotors
Drilled rotors have holes drilled through the friction surface. These holes help dissipate heat and allow water and gas to escape. However, drilled rotors are more prone to cracking under heavy use because the holes create stress points.
Slotted Rotors
Slotted rotors have narrow grooves machined into the friction surface. These slots help clean the pad surface and allow gas to escape. Slotted rotors are popular for performance and off-road applications.
Coated Rotors
Coated rotors have a protective layer on the non-friction surfaces to prevent rust and corrosion. This is especially useful in humid, coastal, or salt-heavy regions where uncoated rotors develop surface rust quickly.
For a deeper comparison of rotor types and how to choose the right one for your vehicle, read our complete brake disc buyer's guide.
Frequently Asked Questions
Do I need to replace both rotors at the same time?
Yes. Always replace brake rotors in pairs — both front or both rear. Replacing only one side causes uneven braking, which pulls the vehicle to one side during stops.
How long do brake rotors last?
Brake rotors typically last 50,000 to 70,000 km (30,000 to 45,000 miles), but this varies depending on driving habits, vehicle weight, and rotor quality. Front rotors wear faster than rear rotors because they handle more braking force.
Can I resurface rotors instead of replacing them?
Resurfacing (also called turning or machining) is sometimes possible if the rotor is above minimum thickness and has no cracks. However, modern rotors are thinner and lighter than older designs, so resurfacing often leaves them below minimum thickness. Replacement is usually the better option.
What happens if I install rotors without bedding them in?
Without bedding in, you may experience brake noise, vibration, and reduced stopping power. The pads need to transfer an even layer of friction material to the rotor surface for optimal performance.
How do I know if I have the right rotor for my vehicle?
Check the rotor diameter, number of bolt holes, hub bore size, and venting type against your vehicle's specifications. The easiest way is to match the OE (original equipment) part number. If you are sourcing rotors for a fleet or resale business, ask your supplier to cross-reference the OE number.
Source Quality Brake Rotors for Your Business
Whether you are a mechanic, fleet manager, or auto parts reseller, having access to quality brake rotors at competitive prices makes a difference. We supply solid and vented brake discs for popular vehicle applications — from compact cars to commercial trucks.
All rotors are manufactured to OE specifications with quality control at every stage of production.
Looking for more brake knowledge? Read our guides on how to choose brake discs, 5 signs you need new brake discs, and brake rotor warping prevention.