
Aug 21, 2026Product Knowledge
How to Change Brake Pads: A Step-by-Step Guide
Complete step-by-step guide to changing brake pads. Learn the tools needed, installation process, bedding-in procedure, and common mistakes to avoid for safe, quiet braking.
When Should You Change Brake Pads?
Before you start, make sure the pads actually need replacing. Common signs include:
- Squealing or grinding noise when braking — this often means the wear indicator is contacting the rotor
- Vibration or pulsation through the brake pedal during braking
- Longer stopping distances than usual
- Visual inspection shows pad material thinner than 3 mm
- Dashboard warning light illuminated (on vehicles with pad wear sensors)
For a detailed breakdown of warning signs, read our guide on 7 signs your brake pads need replacing.
Tools and Materials You Will Need
Gather everything before you start. Having the right tools on hand makes the job faster and prevents interruptions.
Essential Tools
- Floor jack and jack stands — Never work under a vehicle supported only by a jack
- Lug wrench or impact gun — For removing wheel lug nuts
- Socket set and ratchet — For caliper slide pin bolts
- C-clamp or brake piston tool — For pushing the caliper piston back
- Caliper hanger or bungee cord — To support the caliper without straining the brake hose
- Wire brush — For cleaning rust and debris from the caliper bracket
- Torque wrench — For tightening lug nuts and caliper bolts to specification
Recommended Materials
- New brake pads — Always replace pads in axle sets (both sides)
- Brake grease — For slide pins, pad backing plates, and contact points
- Brake cleaner spray — For cleaning the rotor surface and caliper bracket
- Anti-rattle clips or shims — If the new pads do not include them or the old ones are damaged
Choosing the Right Brake Pads
The pads you install directly affect braking performance, noise levels, and customer satisfaction. The three main types are:
- Ceramic — Low noise, low dust, long lifespan. Best for passenger cars in premium markets. Compare ceramic vs semi-metallic brake pads for detailed differences.
- Semi-metallic — Strong stopping power, good heat dissipation. Best for trucks, SUVs, and price-sensitive markets.
- NAO (organic) — Budget option for light-duty applications. Shorter lifespan than ceramic or semi-metallic.
Step-by-Step Brake Pad Replacement
Step 1: Prepare the Vehicle
Park on a flat, level surface. Engage the parking brake and place wheel chocks behind the wheels that stay on the ground. Loosen the lug nuts on the wheel you are working on — but do not remove them yet.
Lift the vehicle with a floor jack at the correct jack point. Place a jack stand under a solid frame point and lower the vehicle onto the stand. Remove the lug nuts and take off the wheel.
Step 2: Remove the Caliper
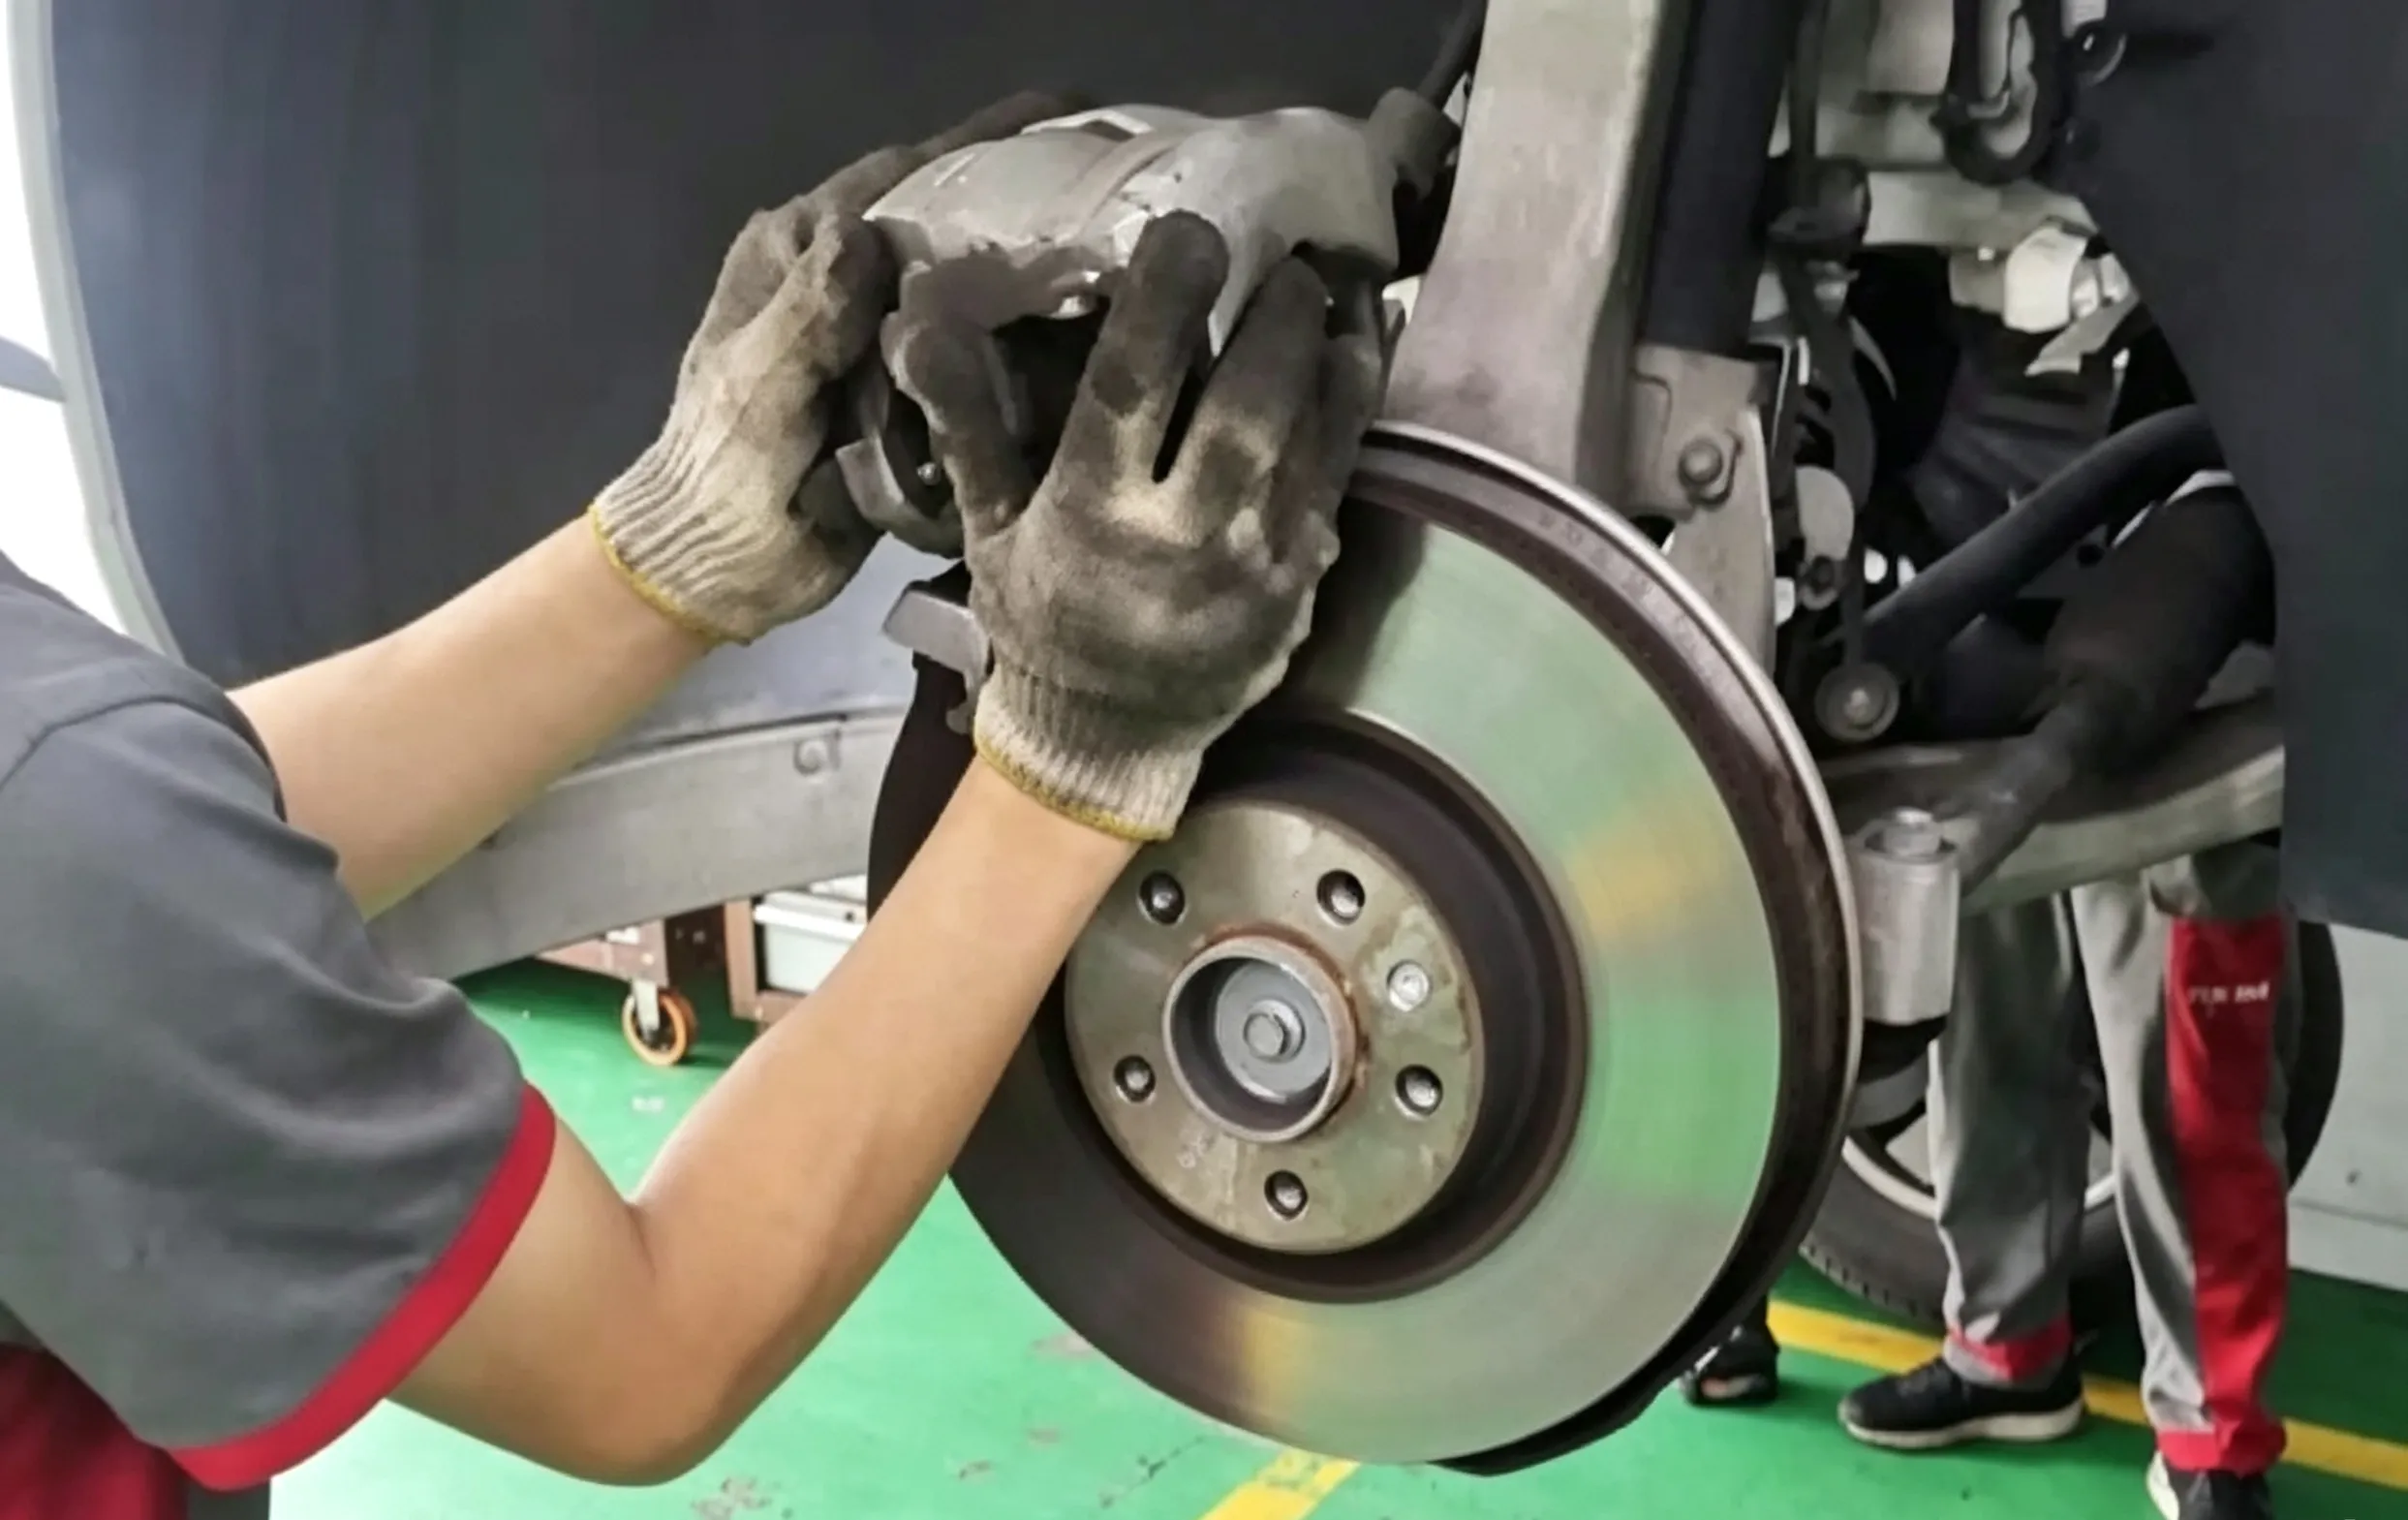
Locate the two caliper slide pin bolts on the back of the caliper. These are usually 12mm, 14mm, or 15mm hex bolts. Remove both bolts and lift the caliper off the rotor.
Important: Never let the caliper hang by the brake hose. This can damage the hose and cause a brake fluid leak. Use a caliper hanger or bungee cord to suspend the caliper from the suspension spring or strut.
Step 3: Remove the Old Pads
Slide the old brake pads out of the caliper bracket. Note how they are positioned — which side faces the rotor, where the shims or clips sit, and how the wear indicator is oriented. Take a photo with your phone if you are unsure.
Inspect the old pads for uneven wear. If one pad is significantly more worn than the other, it may indicate a stuck caliper piston or seized slide pin that needs attention.
Step 4: Clean the Caliper Bracket
Use a wire brush to clean the pad contact areas on the caliper bracket. Remove any rust, dirt, or old brake pad material. This step is important because debris in the bracket can cause the new pads to stick, leading to uneven wear and noise.
Spray brake cleaner on the bracket and wipe it clean with a lint-free cloth.
Step 5: Push Back the Caliper Piston
The caliper piston must be pushed back into the bore to make room for the new, thicker pads. Use a C-clamp or brake piston tool:
- Place the old brake pad against the piston (to distribute force evenly)
- Position the C-clamp between the old pad and the back of the caliper
- Tighten the clamp slowly until the piston is fully retracted
Tip: If the brake fluid reservoir is full, you may need to remove some fluid first. Pushing the piston back displaces fluid upward, and an overfilled reservoir can overflow.
For vehicles with rear disc brakes and an integrated parking brake, you may need to twist the piston back (clockwise) instead of pushing it straight in. Check your vehicle's service manual.
Step 6: Install New Hardware
Many brake pad sets come with new shims, clips, and anti-rattle springs. Always install new hardware if included. If the new pads do not include hardware and the old clips are worn or corroded, replace them separately.
Apply a thin layer of brake grease to the caliper bracket contact points where the pad ears sit. This prevents binding and reduces noise. Do not get grease on the friction material or the rotor surface.
Step 7: Install the New Pads
Slide the new pads into the caliper bracket. Make sure:
- The friction material faces the rotor on both sides
- The wear indicator (if present) is on the inner pad, positioned correctly
- The pads move freely in the bracket without binding
- Any shims or backing plates are properly seated
Step 8: Reinstall the Caliper
Place the caliper over the new pads and rotor. Install the slide pin bolts and torque them to the manufacturer's specification — typically 25 to 35 Nm (18 to 26 ft-lbs). If the bolts are corroded or damaged, replace them.
Apply a small amount of brake grease to the slide pins before reinstalling. This ensures smooth caliper movement and even pad wear.
Step 9: Reinstall the Wheel
Put the wheel back on the hub and hand-tighten the lug nuts. Lower the vehicle off the jack stand and onto the ground. Torque the lug nuts in a star pattern to the manufacturer's specification — typically 80 to 120 Nm (60 to 90 ft-lbs).
Step 10: Pump the Brake Pedal
Before driving, press the brake pedal several times until it feels firm. This pushes the caliper pistons back against the new pads and takes up the gap between the pads and rotor. The first pedal press will go to the floor — this is normal. Keep pumping until the pedal feels solid.
Critical: Do not skip this step. Driving without pumping the brakes means the first brake application will have no stopping power.
Step 11: Bed In the New Pads
Bedding in transfers an even layer of friction material from the pads onto the rotor surface. This step is essential for quiet, consistent braking.
Standard bedding procedure:
- Drive at 50 km/h (30 mph) and make a moderate stop — about 50% brake pressure
- Repeat 6 to 10 times
- Allow 30 seconds between stops for the brakes to cool
- Avoid hard stops or holding the brake pedal down for the first 200 km (120 miles)
Skipping the bedding-in process is one of the most common causes of brake noise, vibration, and uneven pad deposits. If you are also replacing the rotors, follow the rotor bedding procedure in our guide on how to replace brake rotors.
Common Mistakes to Avoid
Not Pushing the Piston Back Fully
If the caliper piston is not fully retracted, the new pads will drag on the rotor from the moment they are installed. This causes overheating, premature wear, and reduced fuel economy.
Reusing Old Hardware
Worn shims, corroded clips, and damaged anti-rattle springs cause noise and uneven pad movement. Always replace hardware when installing new pads.
Getting Grease on the Friction Surface
Brake grease on the rotor or pad friction material drastically reduces braking effectiveness. Apply grease only to the backing plates, slide pins, and bracket contact points. Wipe away any excess.
Not Pumping the Brakes Before Driving
Forgetting to pump the brake pedal means there is a gap between the pads and rotor. The first brake application will have no stopping power, which is extremely dangerous.
Skipping the Bedding-In Process
Without bedding in, the pads deposit friction material unevenly on the rotor. This causes judder, noise, and reduced stopping power.
When to Replace Rotors Too
Brake pads and rotors wear together. In some cases, you should replace the rotors at the same time as the pads:
- Rotor thickness below minimum specification — Measure with a micrometer
- Deep scoring or grooves — If you can catch a fingernail in the grooves
- Visible cracks or heat spots — Safety hazard, replace immediately
- Vibration when braking — Often caused by warped or uneven rotors
For a complete rotor replacement guide, see how to replace brake rotors. To understand what causes rotor damage, read brake rotor warping: causes and prevention.
Frequently Asked Questions
How often should brake pads be replaced?
Brake pads typically last 30,000 to 60,000 km (20,000 to 40,000 miles) depending on driving habits, vehicle weight, pad material, and driving conditions. City driving and heavy braking wear pads faster than highway driving. See our complete brake pad lifespan guide for more details.
Can I replace just one set of pads (front or rear)?
Yes, front and rear pads wear at different rates. Front pads typically wear faster because they handle 60–70% of the braking force. Replace front and rear pads independently based on their wear levels. However, always replace both sides of the same axle at the same time.
Do I need to replace rotors every time I replace pads?
Not always. If the rotors are above minimum thickness, have no deep scoring, and show no cracks, they can be reused. However, many mechanics recommend replacing rotors with every second pad change for optimal performance.
Why do my new brake pads squeak?
New pad squeak during the first 100–200 km is normal and usually goes away after bedding in. If the squeak persists, check for: missing or damaged shims, contaminated friction material, glazed rotors, or stuck caliper hardware.
What is the difference between inner and outer brake pads?
Most vehicles use identical inner and outer pads. Some pads have a wear indicator on the inner pad only — this is the side that wears faster. Always check the pad markings and your vehicle's service manual for correct orientation.
Source Quality Brake Pads for Your Business
Whether you are a mechanic, fleet manager, or auto parts reseller, having access to quality brake pads at competitive prices makes a difference. We supply ceramic, semi-metallic, and NAO brake pads for popular vehicle applications worldwide.
All pads are manufactured to OE specifications with quality control at every stage of production.
Looking for more brake knowledge? Read our guides on brake pad materials explained, 7 signs your brake pads need replacing, and how to replace brake rotors.